
Grow Moringa Microgreens on your Kitchen Tabletop, Porch or Balcony and within a few days they'll sprout, eat the fresh greens daily.

This Kit includes: + 100 count (25g) USDA Organic Moringa Oleifera Seeds PKM1 + 8.5” x 6” x 2.25” Tray with Holes + Sprouting Dome + 8.5” x 6” x 2.25” Tray without Holes + 4oz (.25L) USDA Organic Bio-Stimulant Extract + 4oz (113g) USDA Organic Bio-Stimulant Powder + 1.5lb USDA Organic Composted Soil + .5oz Perlite for Drainage + Moringa Microgreen Planting Instructions & Maintenance Manual
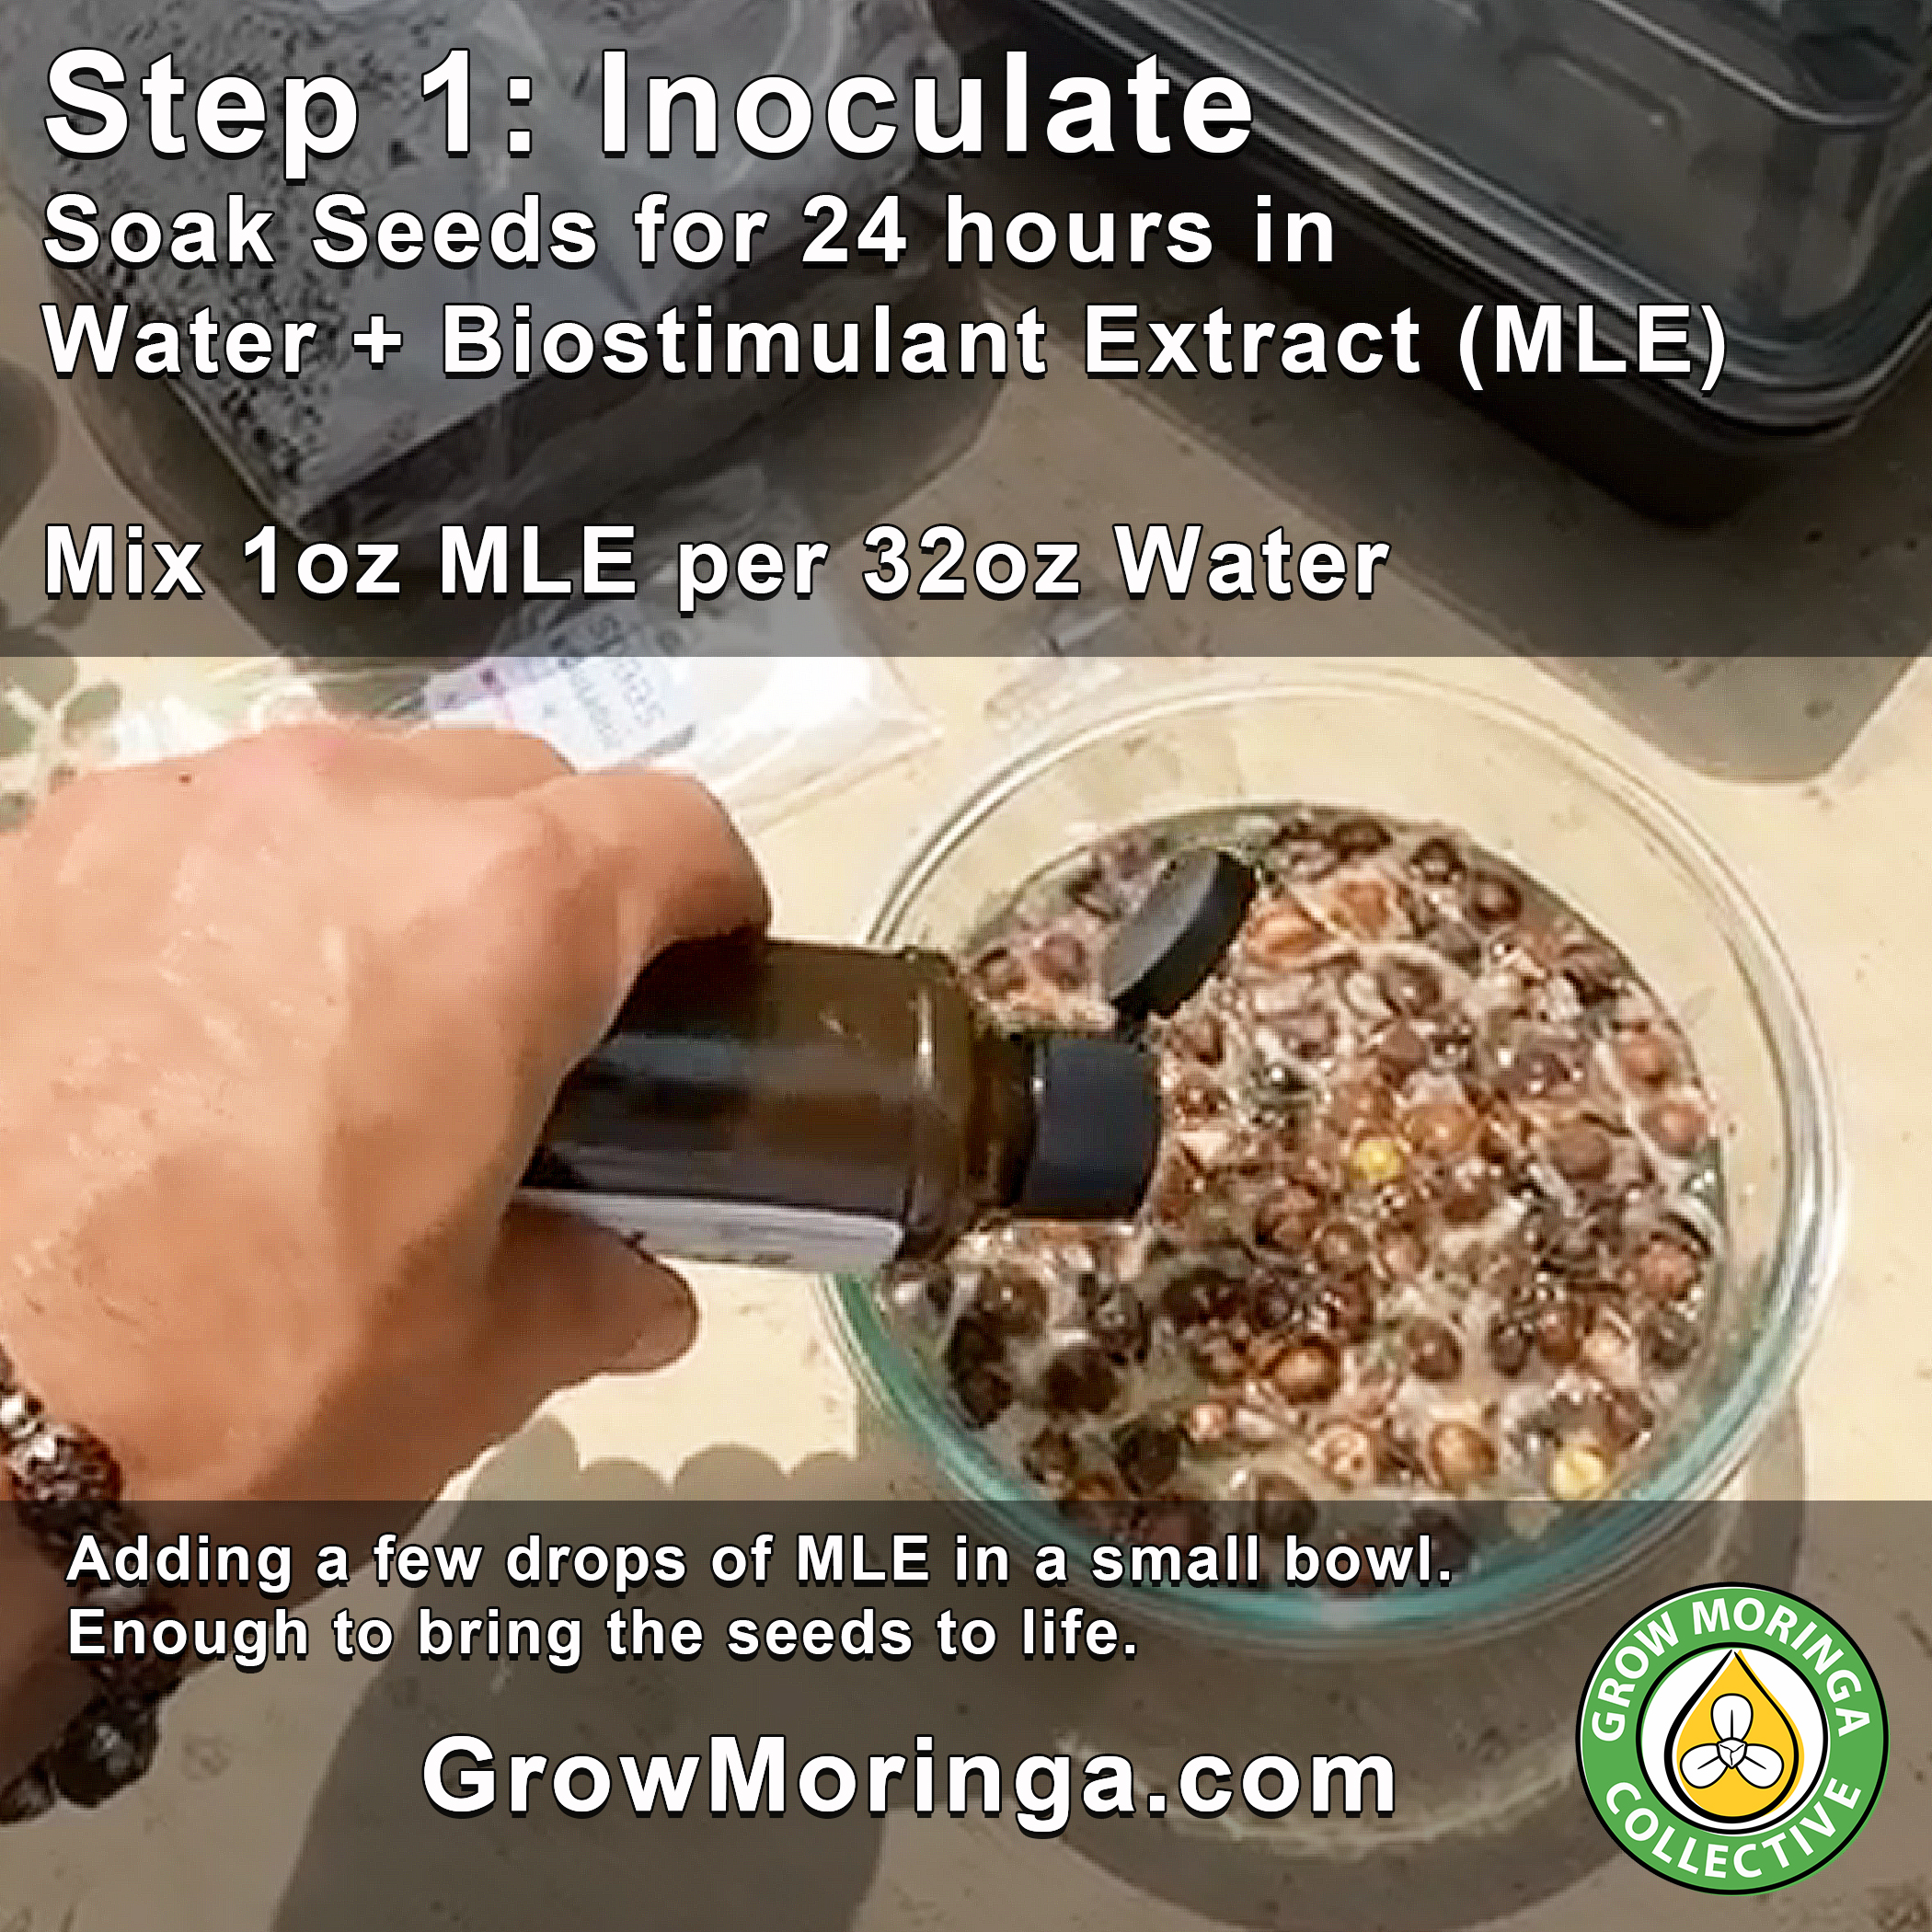
In a bowl, soak all 100 moringa seeds in the MLE solution, at least for 12-24 hours. Place a paper towel over top to submerge all the seeds.
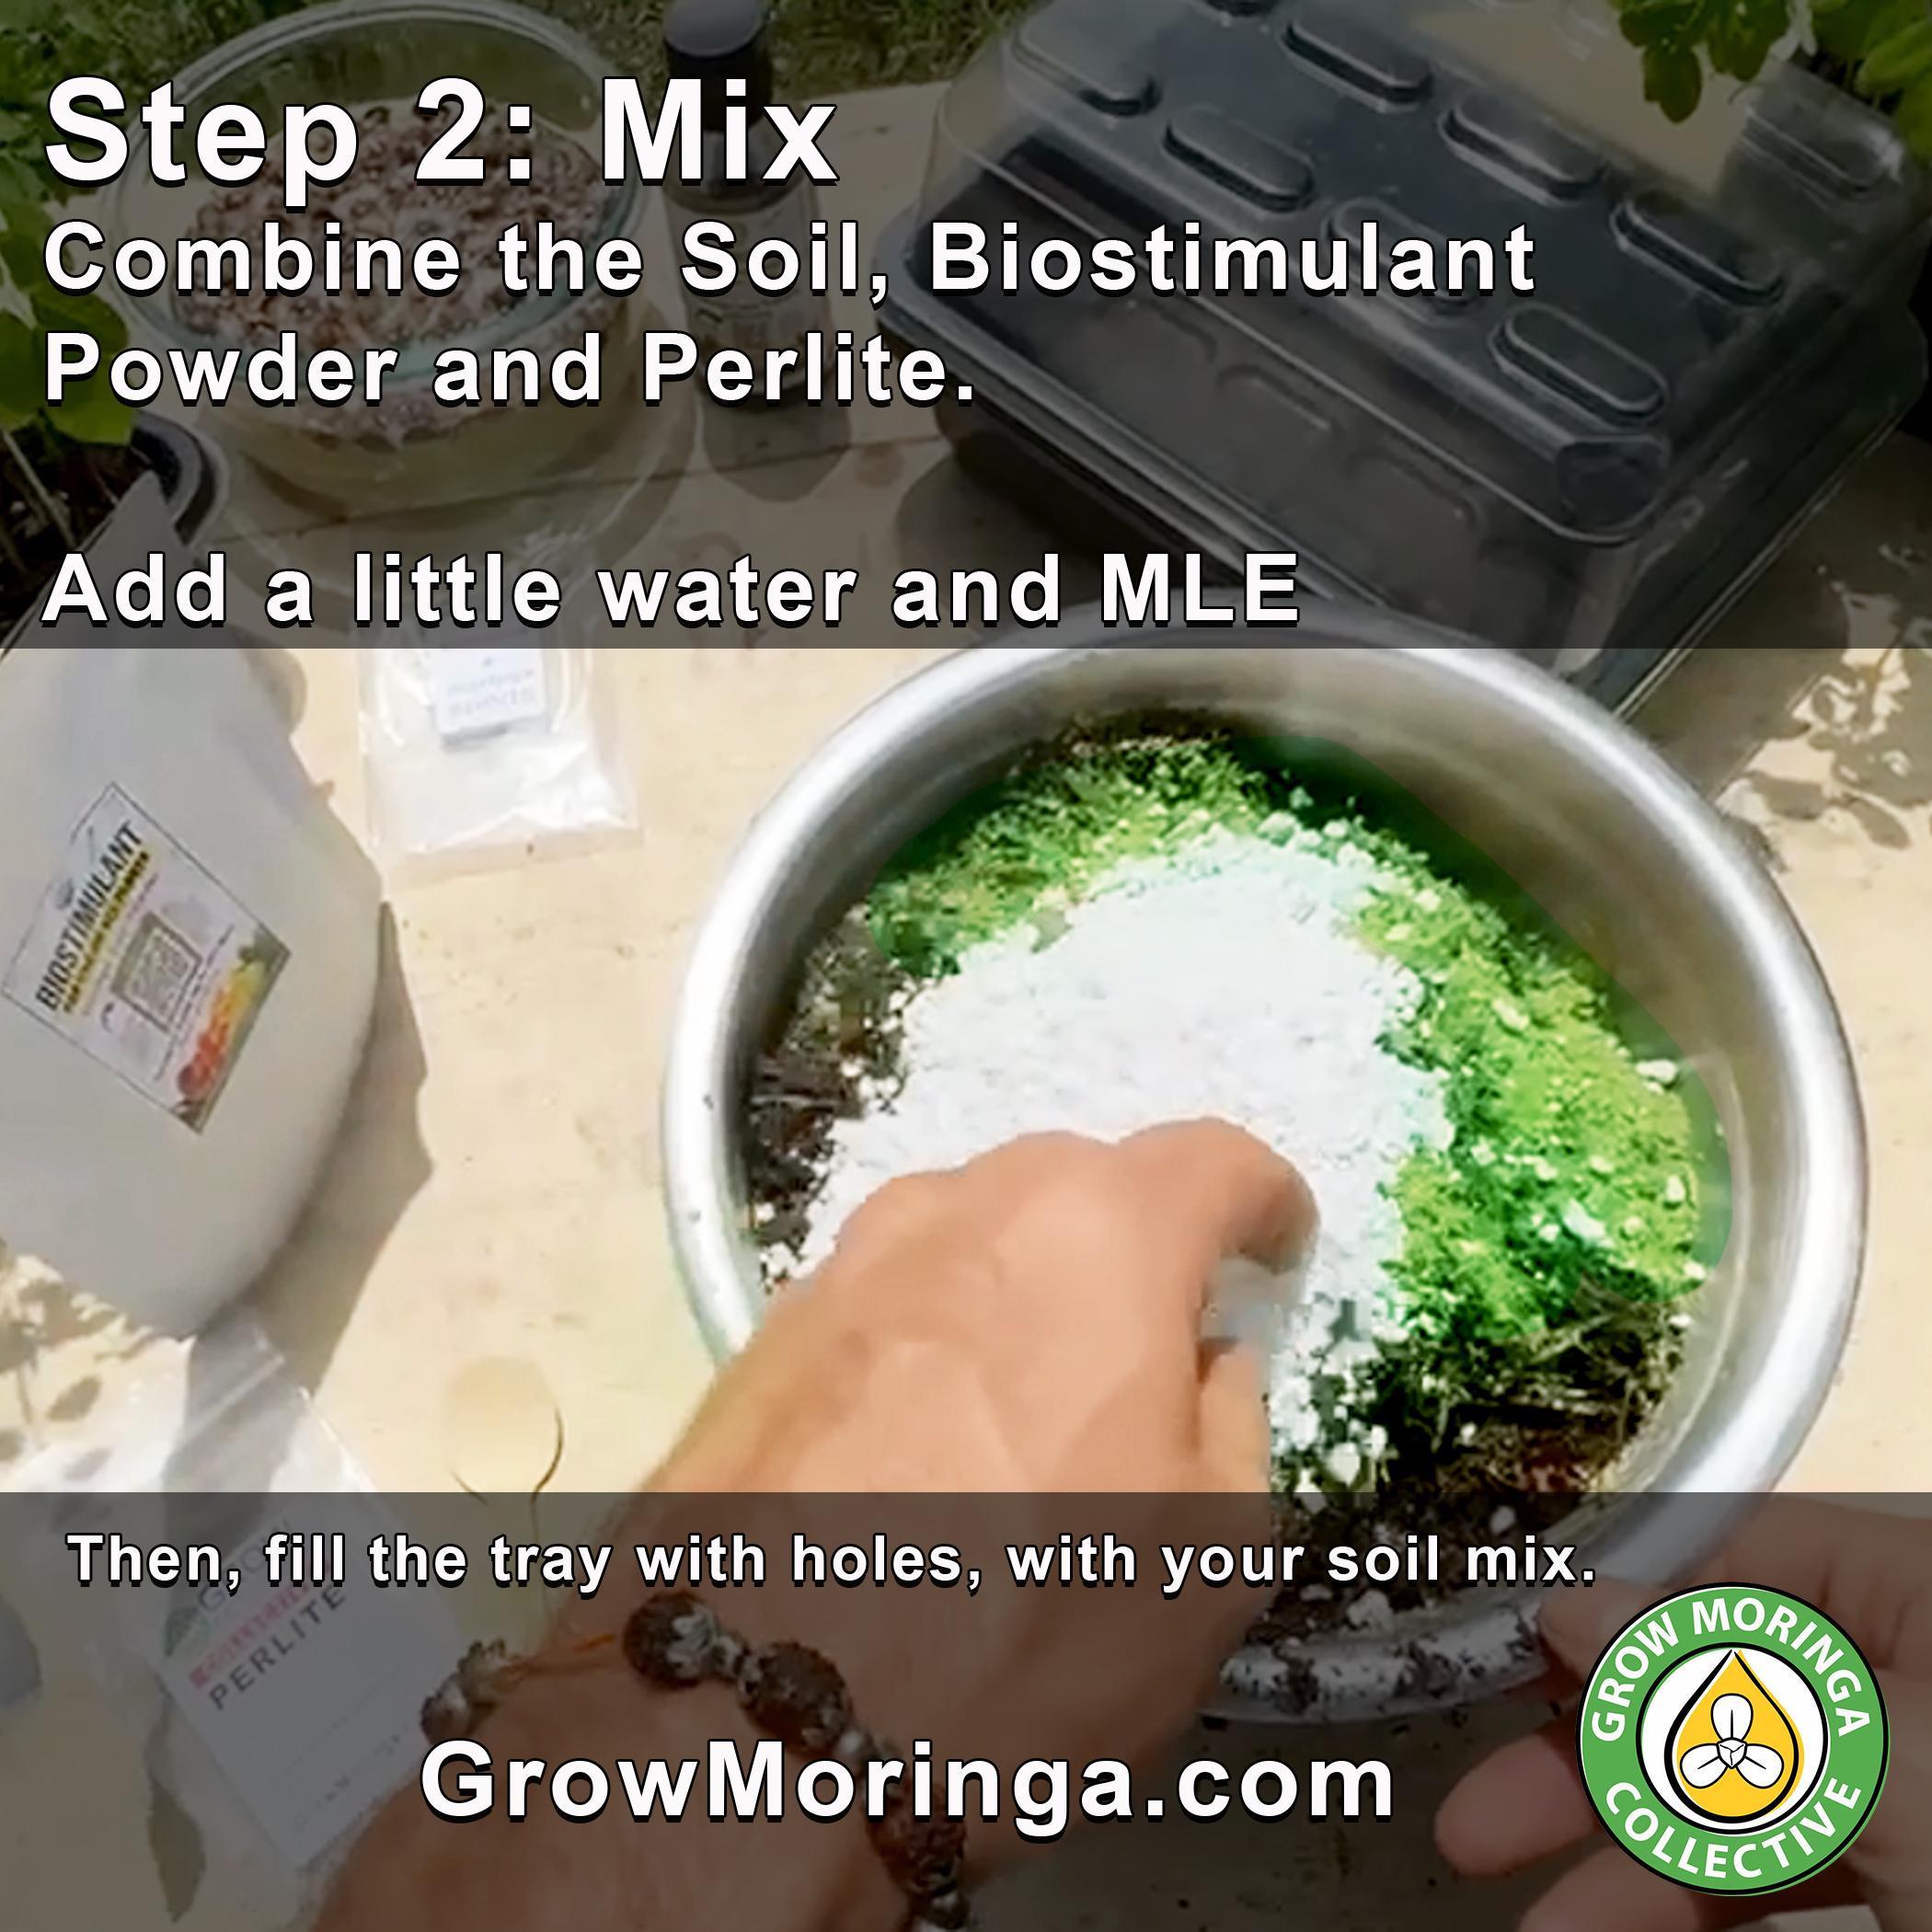
The kit includes the perfect amount of soil, Moringa BioStimulant Powder and Perlite. Mix them well in a bucket using a garden trowel. Then put 75% of the soil mix into your tray with holes. Save 25% of your soil to cover the seeds.
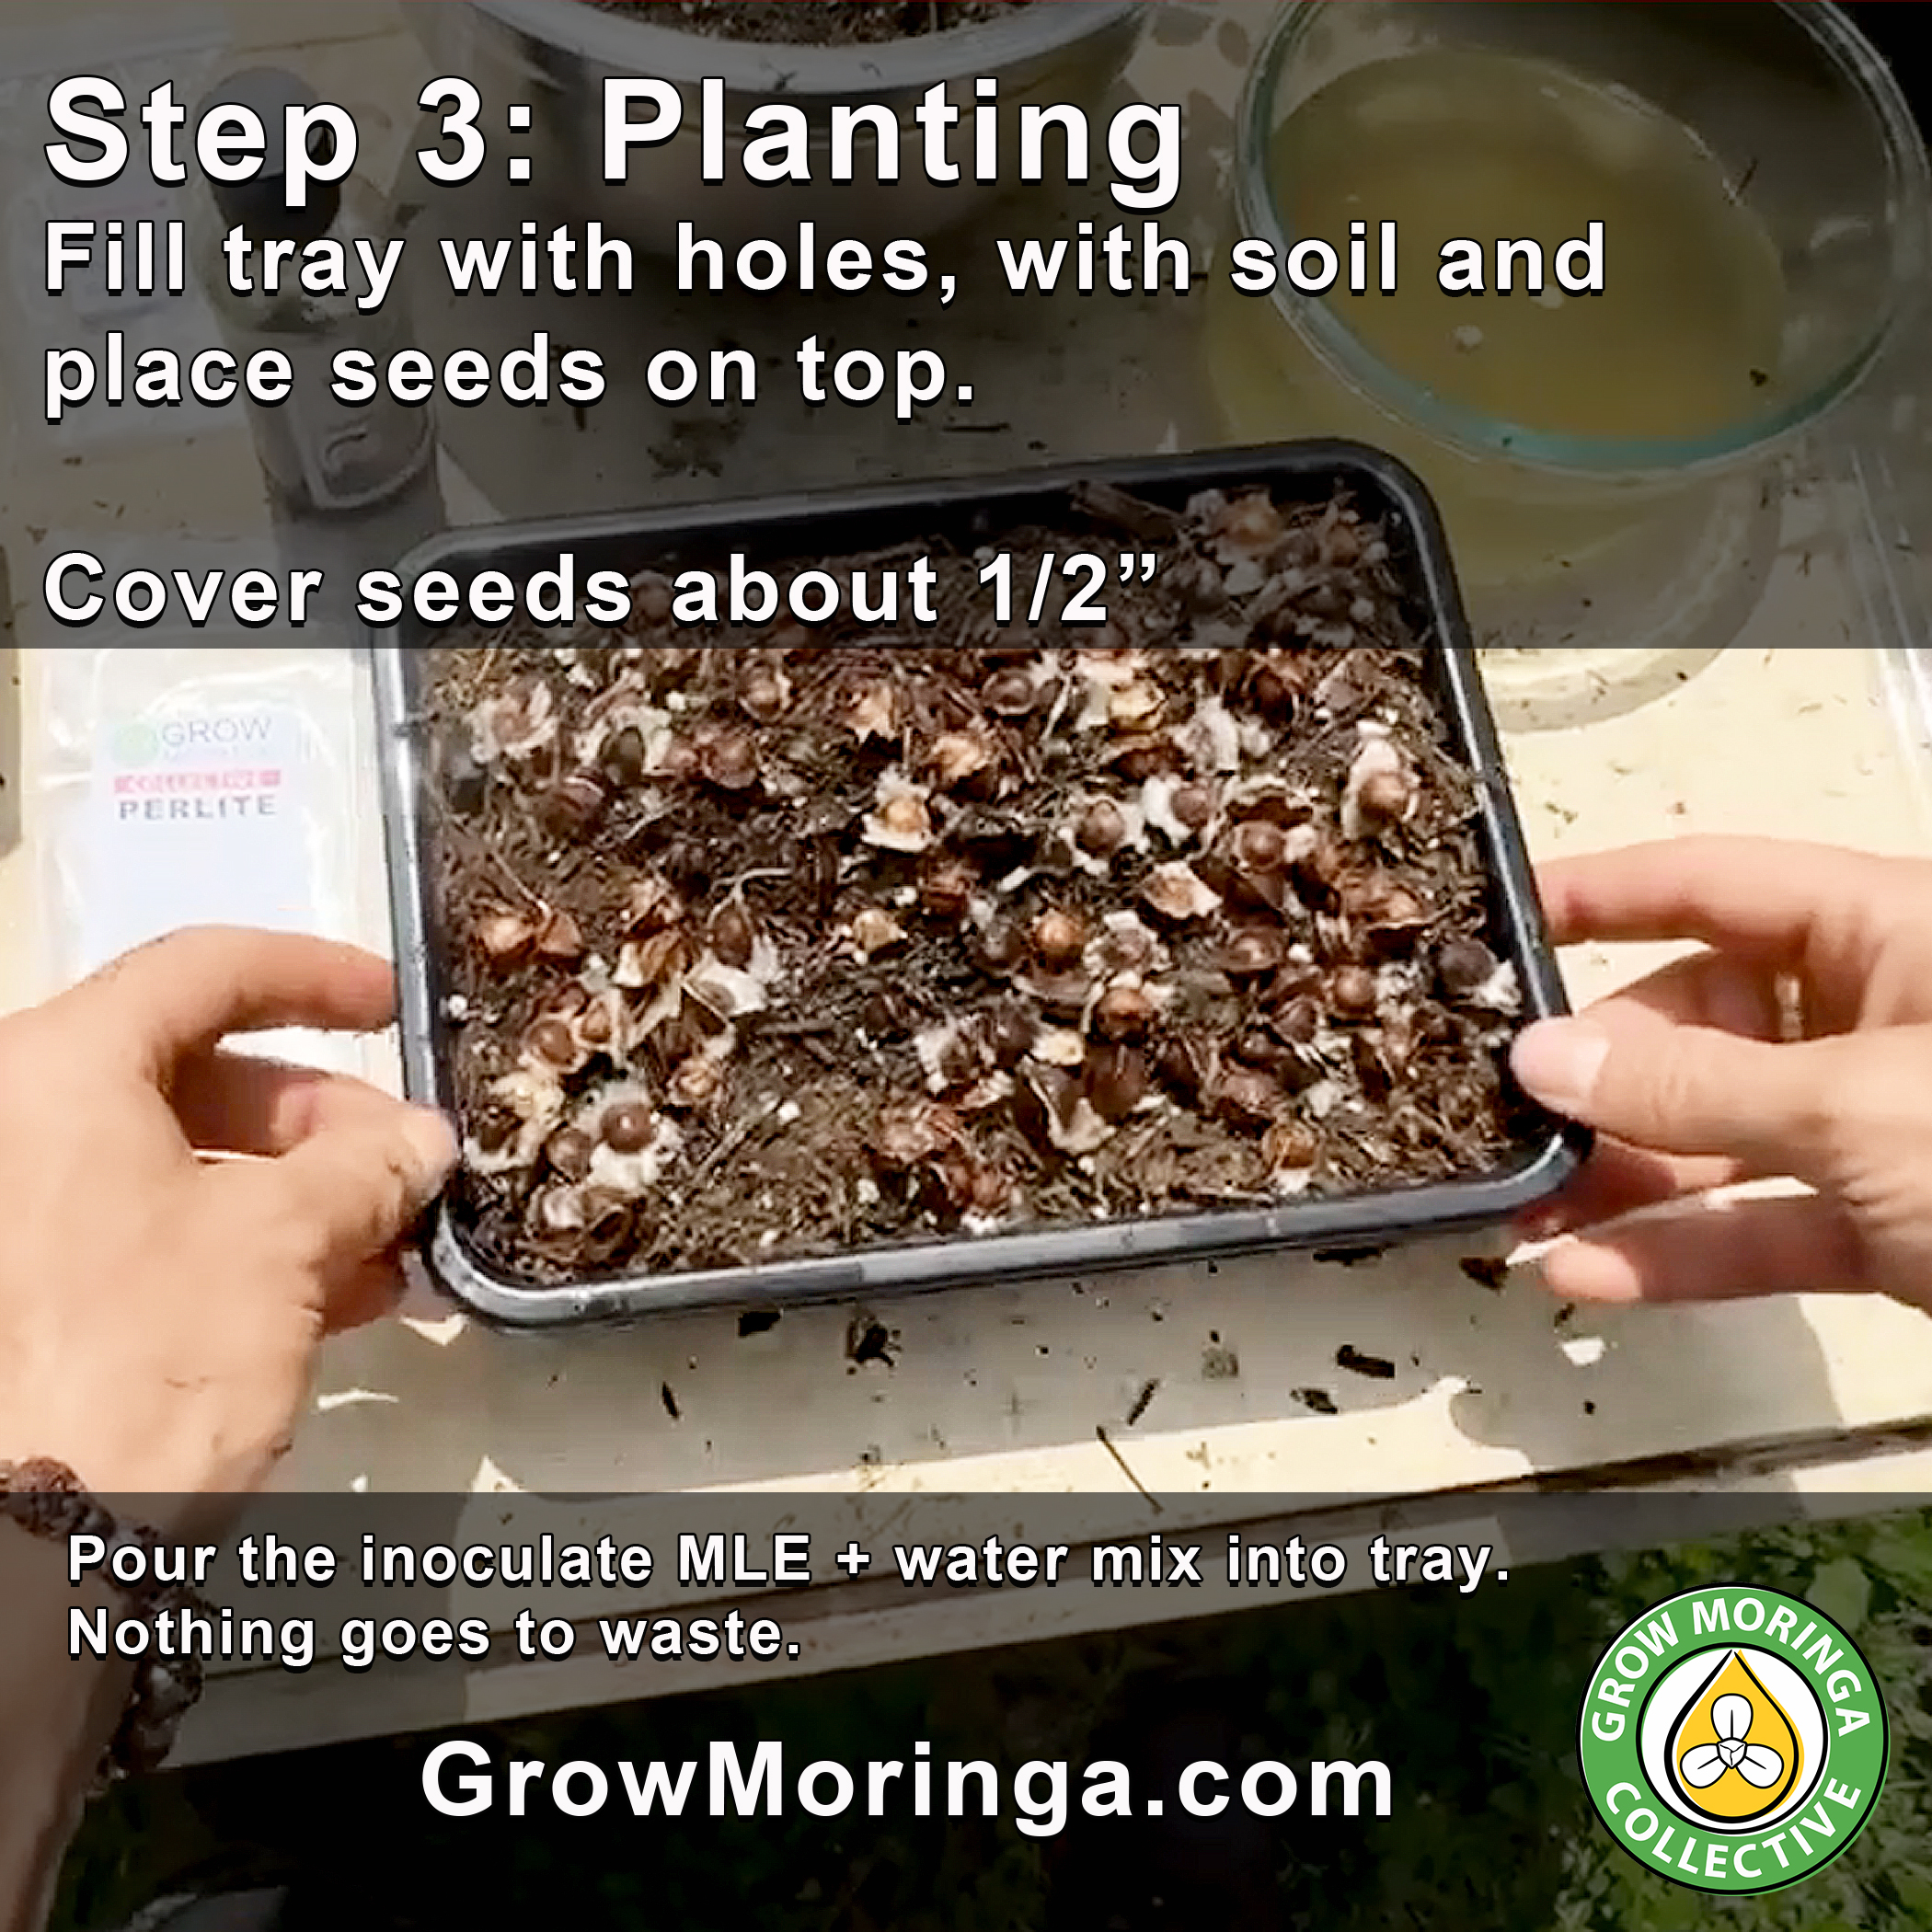
Place the soaked seeds on top of the soil in your tray with holes. Spread them out as much as possible evenly spaced and avoid crowding. Cover the seeds lightly with the remaining soil. The seeds should be covered about 1/2" to 1" at most. You should not be able to see any part of the seeds. Put your tray with holes in the tray without holes. to make sure there is no leakage from watering.
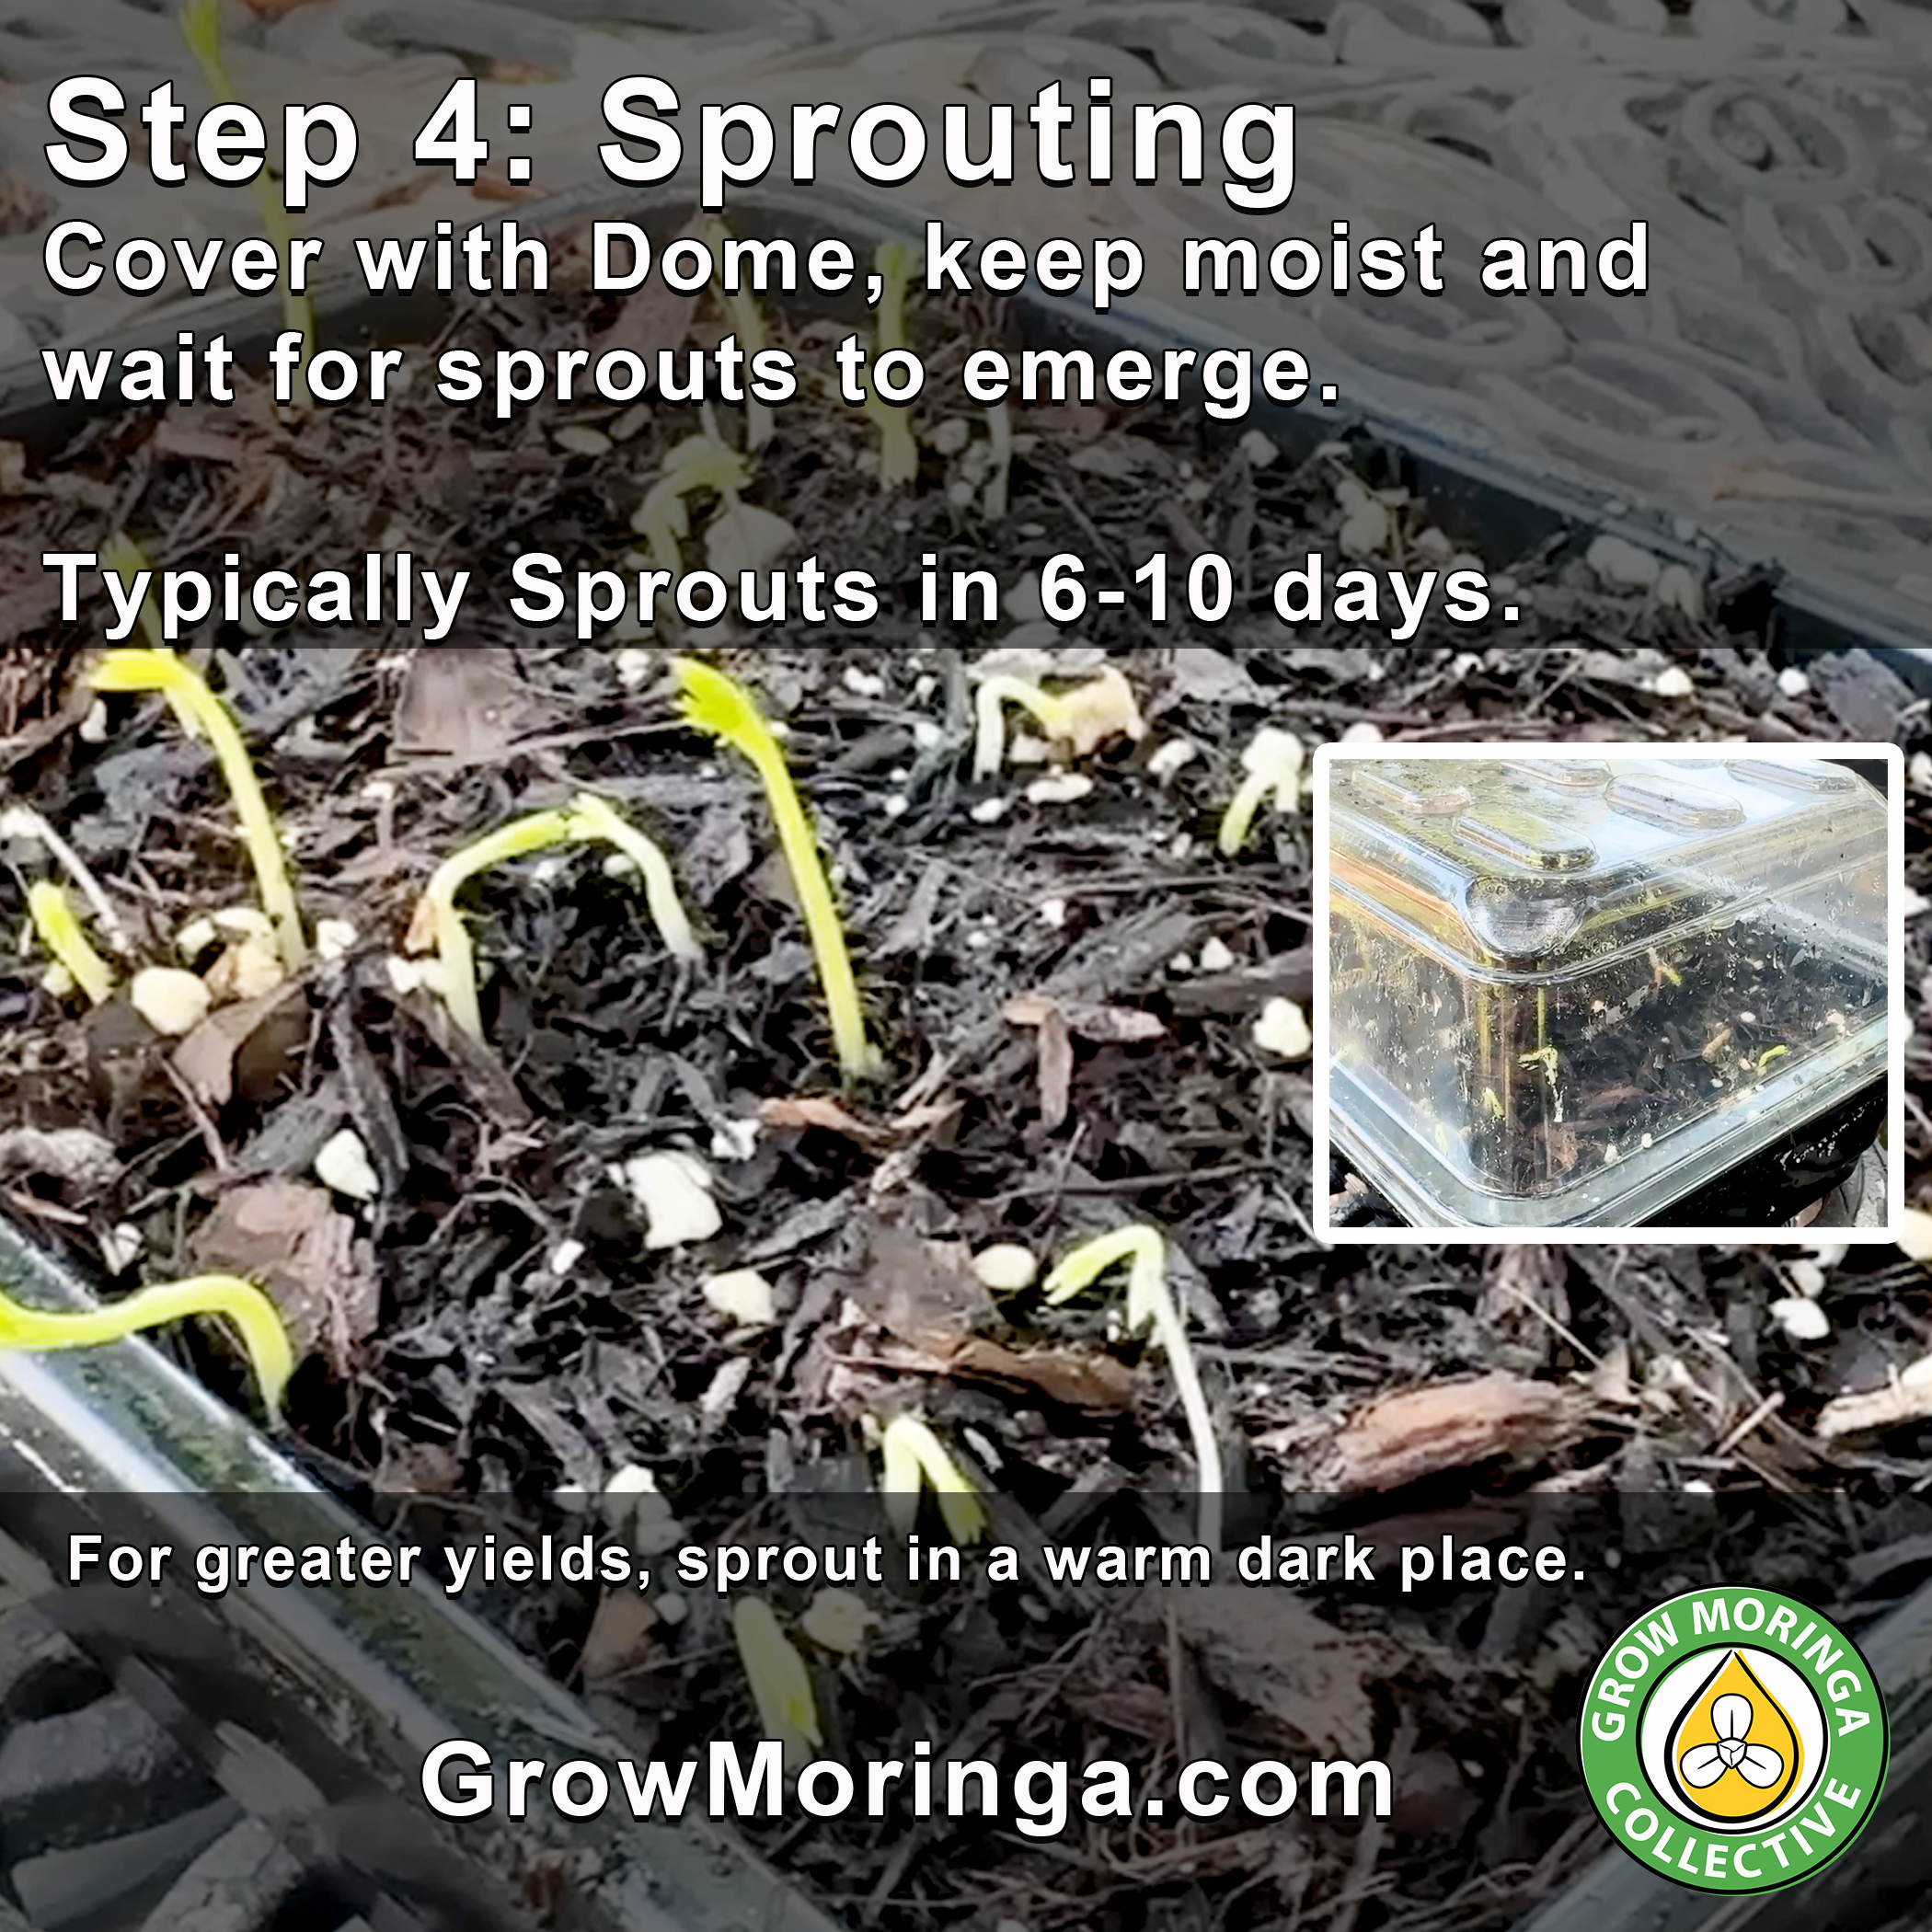
Fully soak the soil and surface with MLE Solution. Then, cover the tray with the Bio-Dome for the remaining week. Keep the Bio-Dome + tray in the dark during germination. Keep the soil moist, you may only need to water 1 time before they sprout. They don't like it too wet, but they need to be consistently moist to sprout. Practice makes perfect. That's why pre-soaking of the seeds helps to promote faster germination and prevents complications due to longer germination times which could reduce the amount of seeds that sprout. The ideal temperatures for germination are around 70-75 degrees F. If the topsoil begins to form mold or fungal hairs remove the dome and spray a 5% hydrogen peroxide water solution and keep the dome off for 1 day before putting it back on.
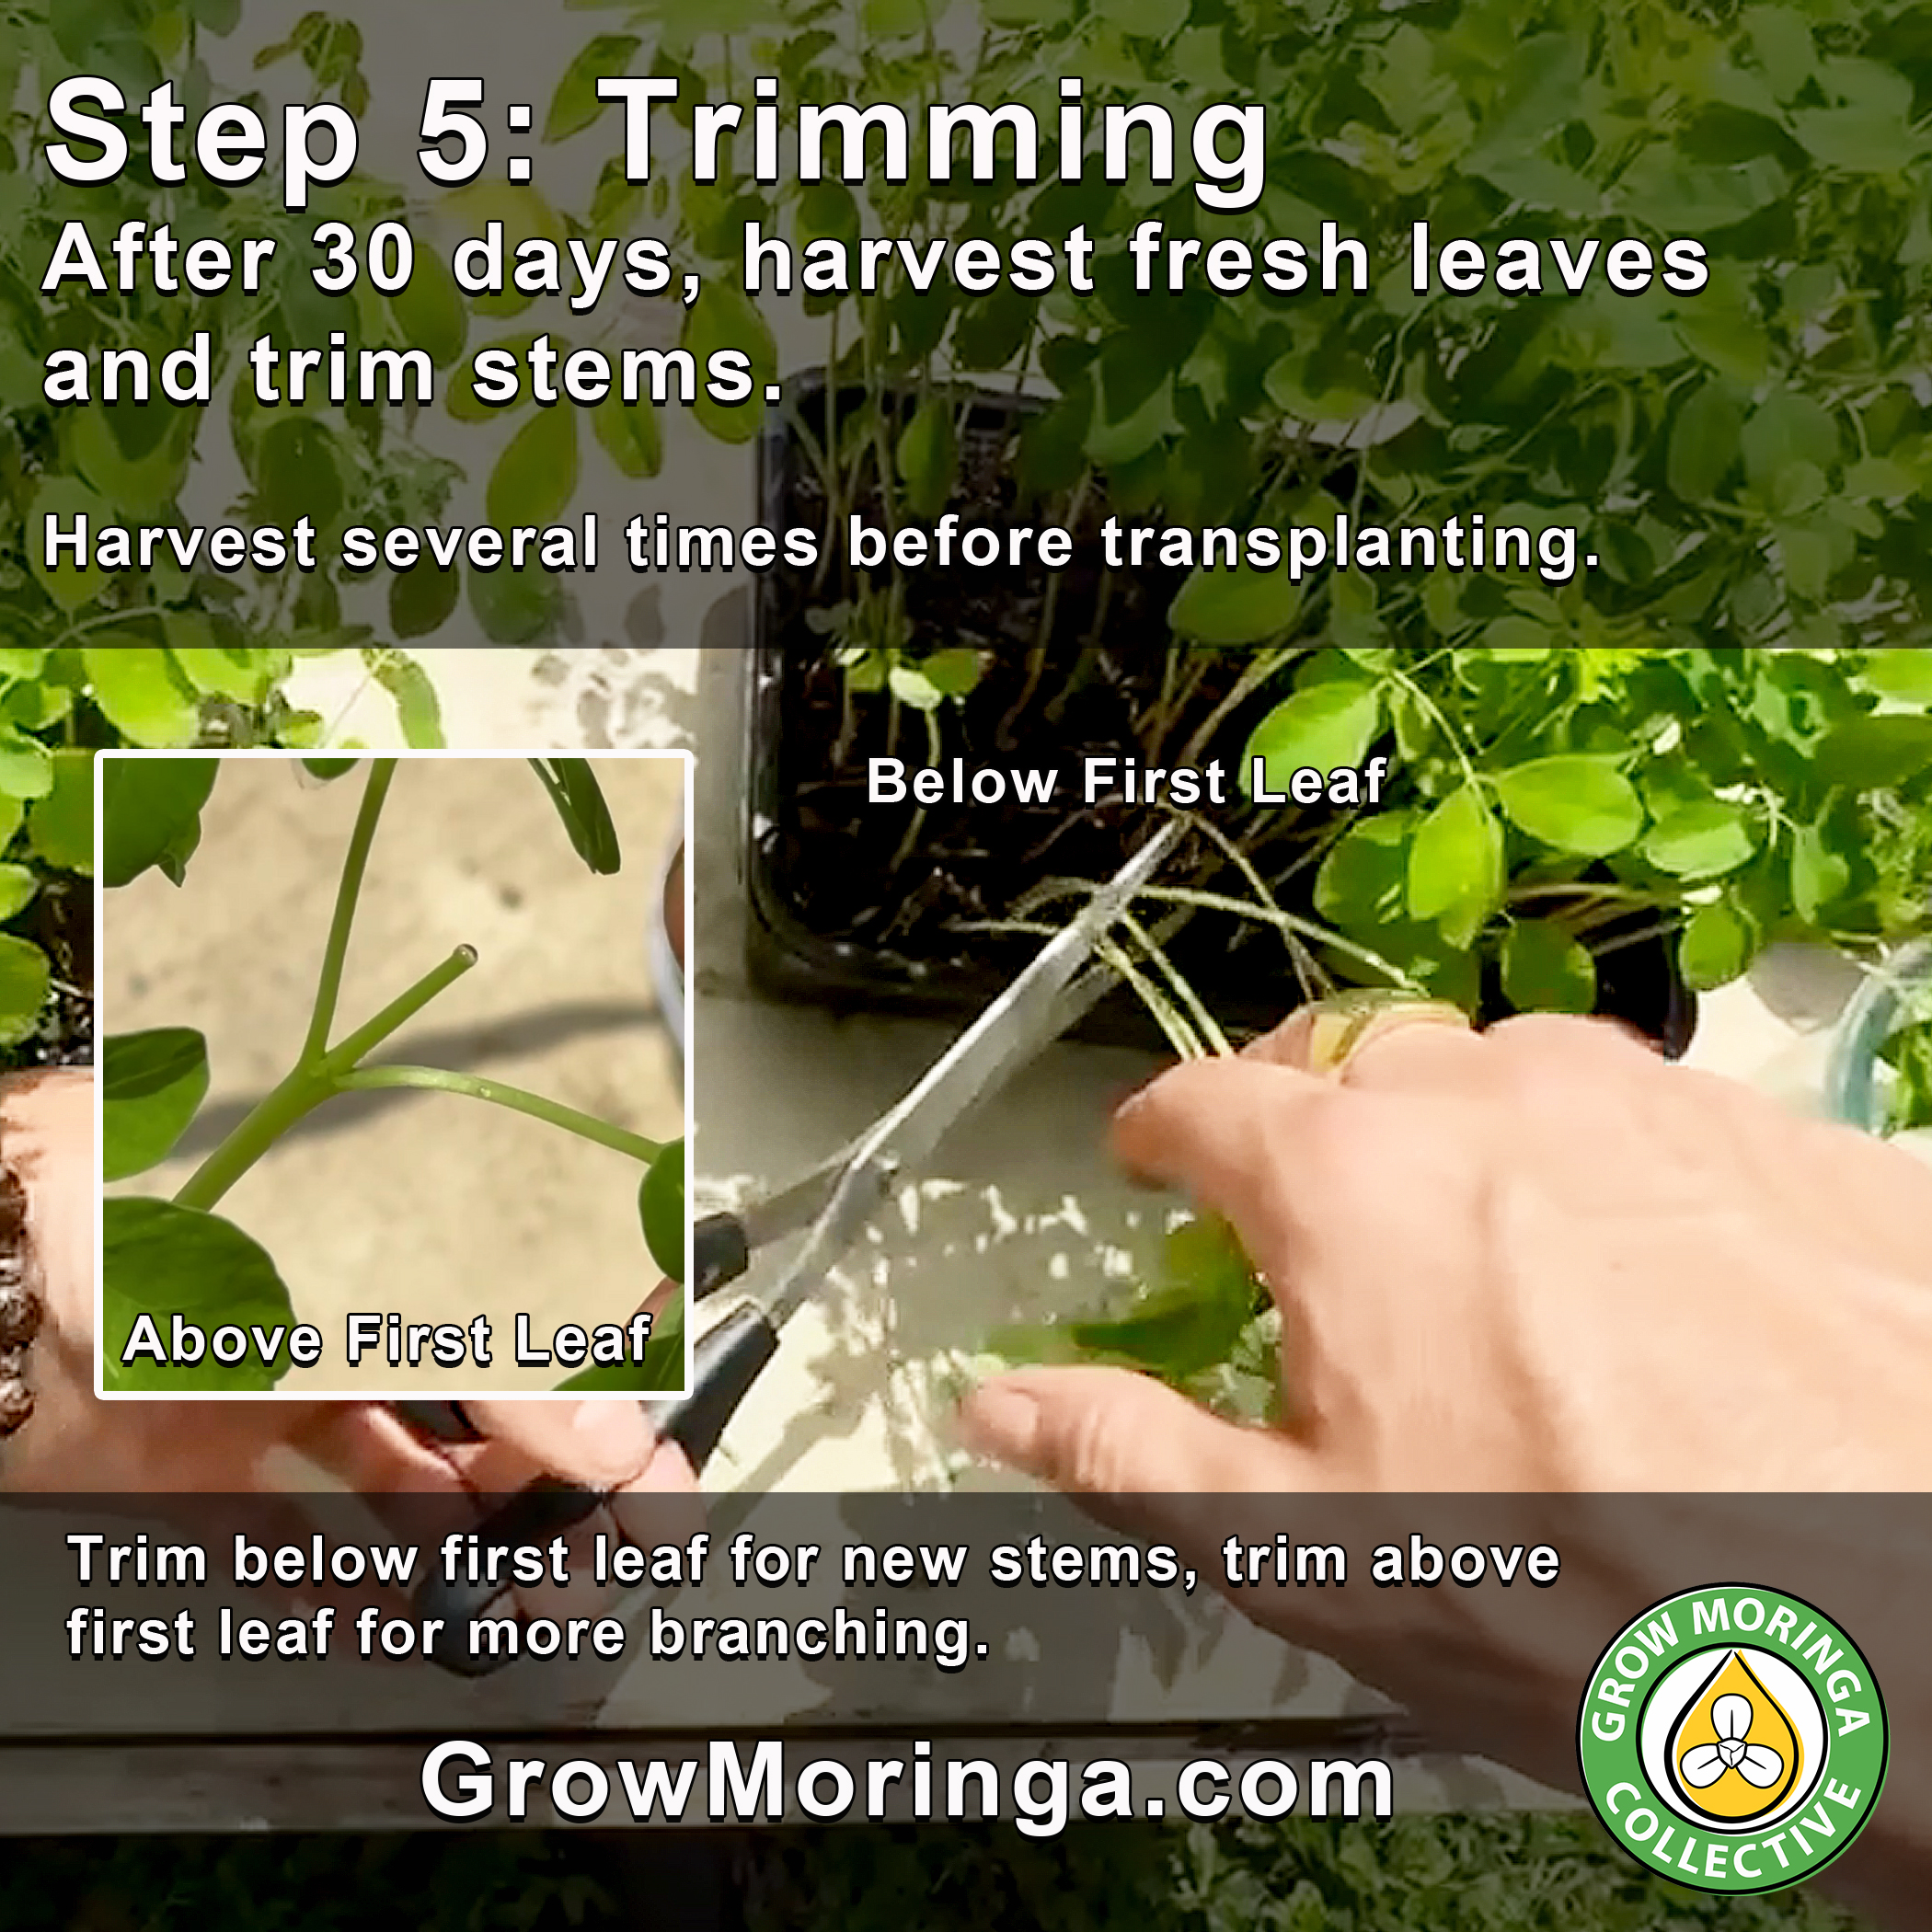
You can make the first trim within 30-45 days. Cut back your greens regularly! Soon as you begin to see some discoloration or yellowing, grab those greens before they yellow. If you cut the stem above the first leaf, it will sprout new stems from the first leaf nodes. If you cut the stem below the first leaf, it will most likely re-sprout a new stem from the seed, emerging from the soil within a few days after cutting. Use this knowledge to keep your microgreens tray less crowded and healthier. If the leaves are too crowded they will turn yellow fast. If leaves are turning yellow or have brown spots, you could be over watering, but most likely you are not harvesting the greens fast enough. Remove any leaves that are yellow and discard them. Do not leave yellowing leaves in the tray, they will attract pests and fungus. Remove any yellowing leaves from the trees. Cut them back at different heights so they regrow at different levels to reduce touching and spreading any fungus.
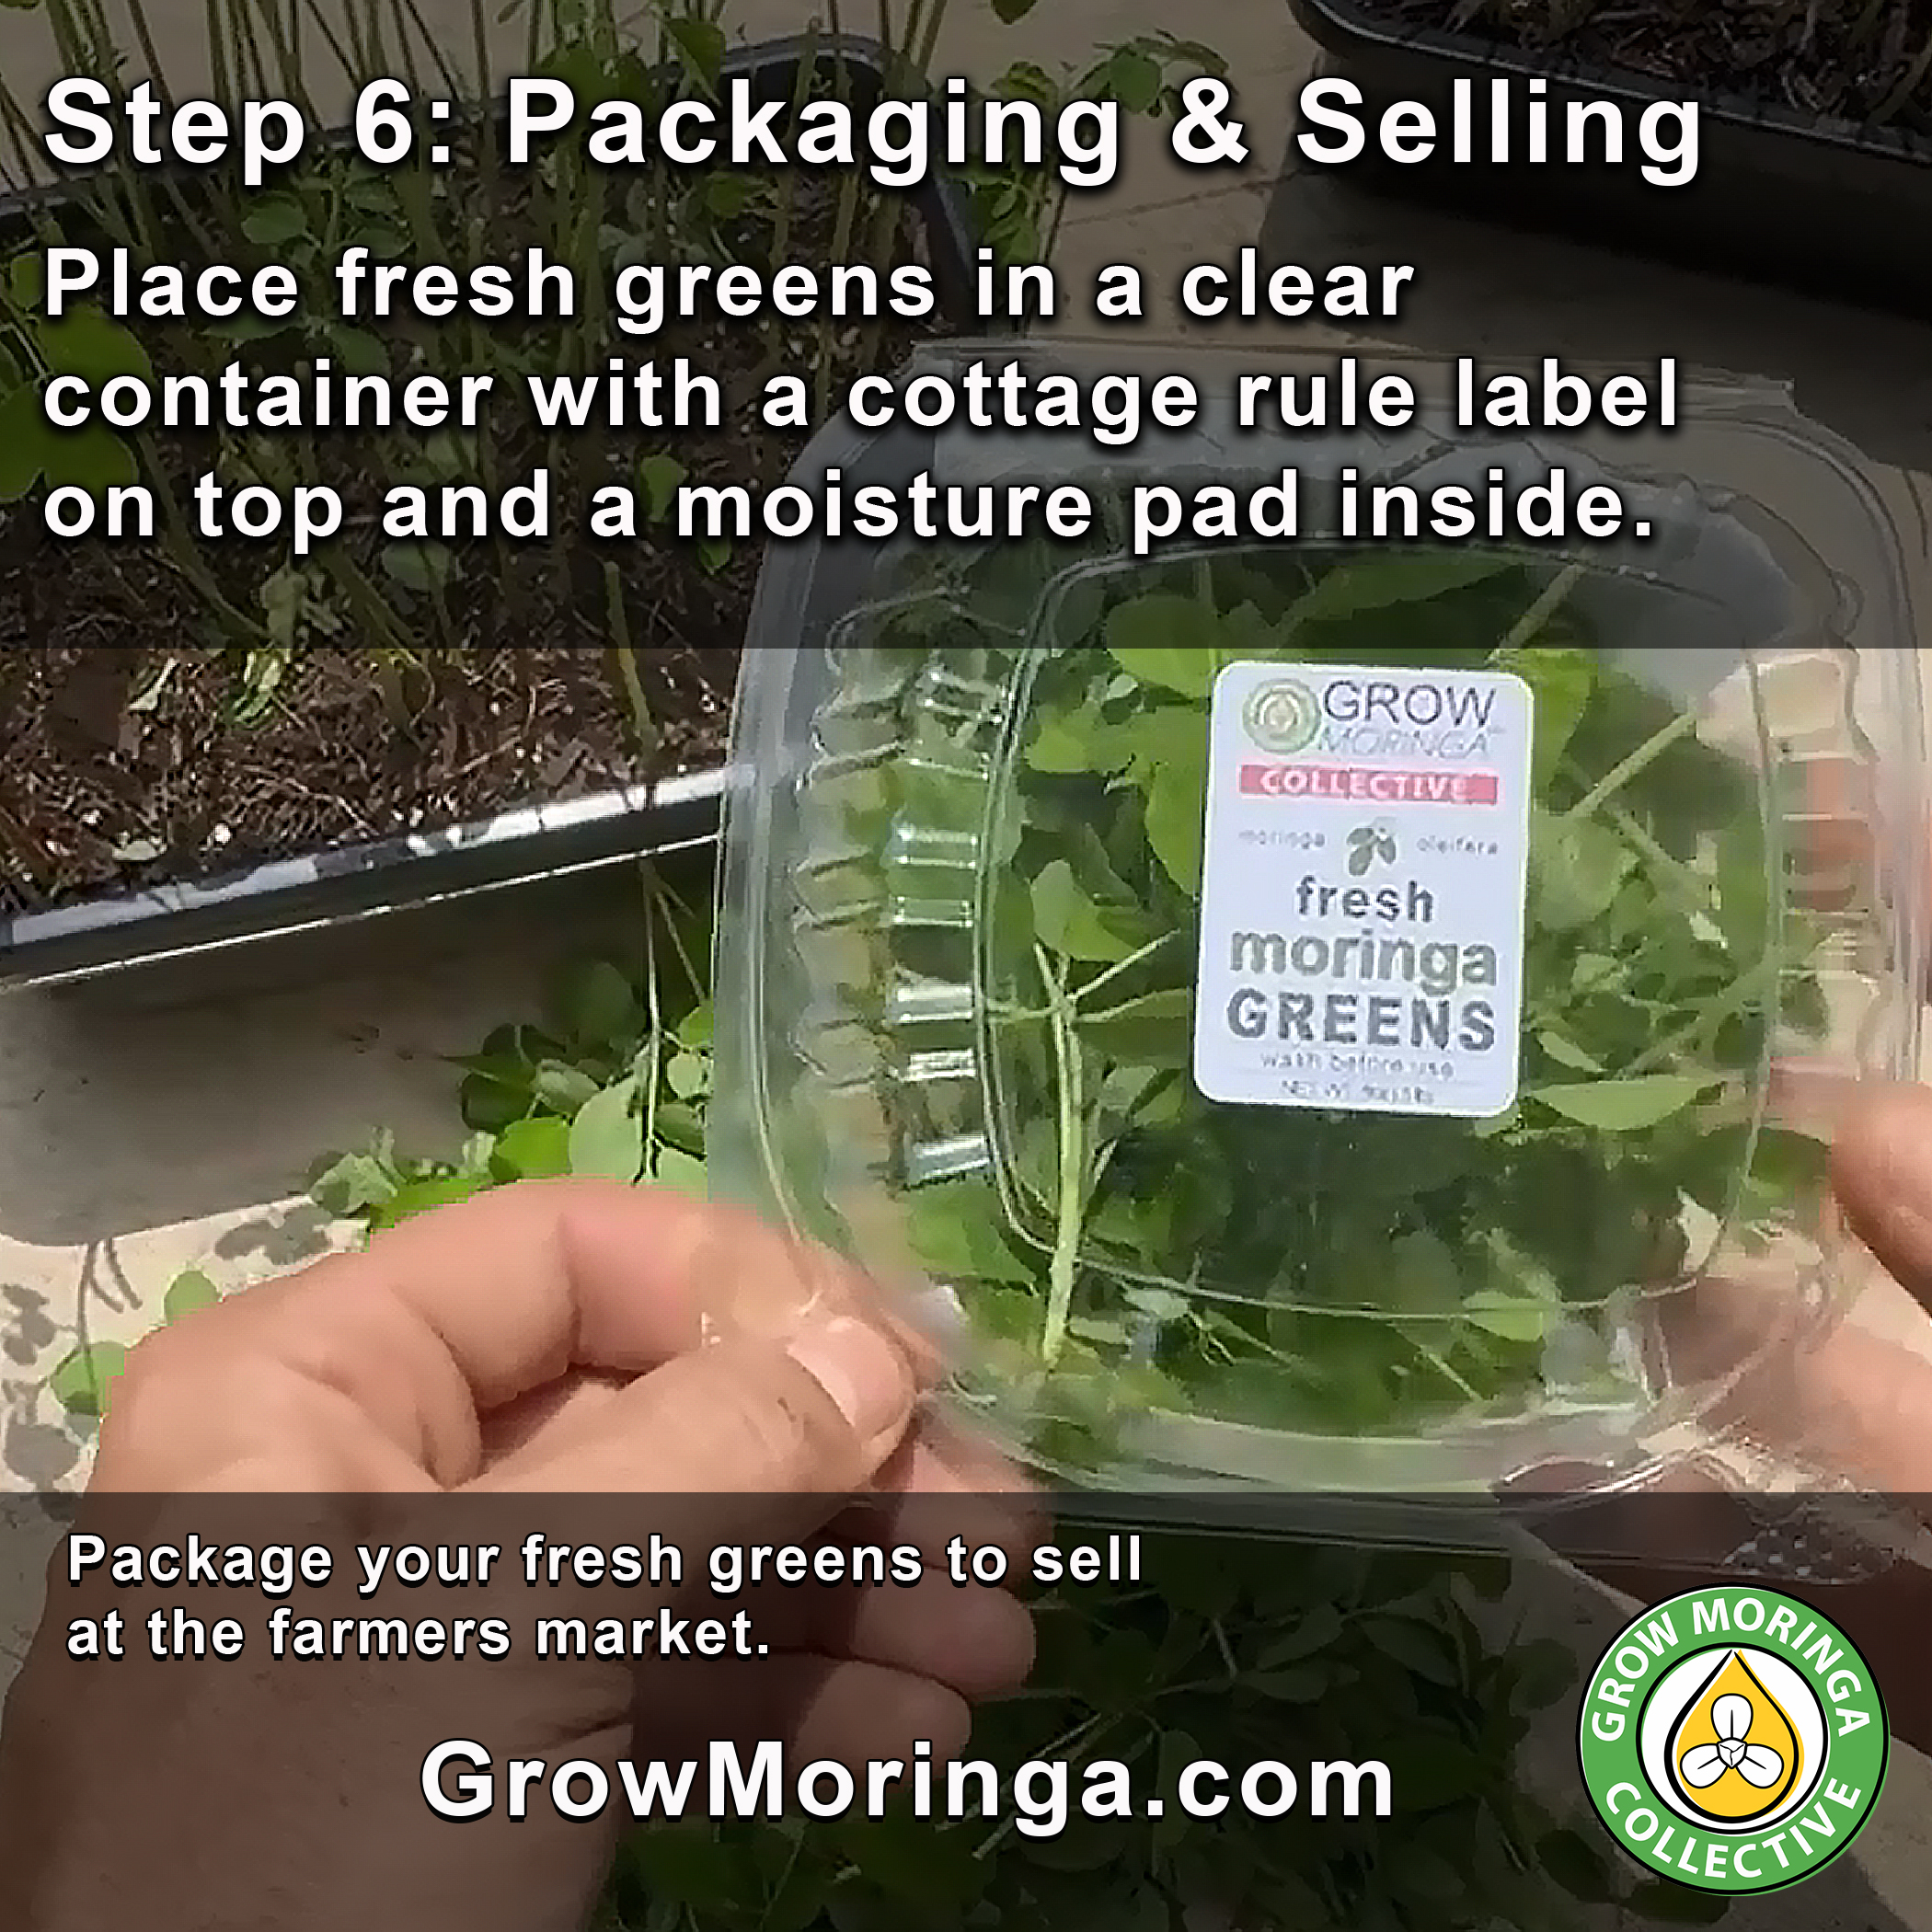
Make extra income from your moringa trees within 30-45 days. Place your fresh cut greens in a clear package container, with a cottage rule label on it and sell at the farmers market. The keep the greens fresher in the package by adding a moisture absorber pad inside the container. You can sell each package for $5 and rack up hundreds of dollars from a small operation. Rotate your trays and constantly be sprouting new greens. They can regrow several times before you'll want to transplant the trees into larger containers.
After about 30-90 days from sprouting, the trees will begin to outgrow the tray and will need to be transplanted to a larger pot or planted in the ground. Place the young tree in a 1-3 gallon pot and cut the leaves back at that time. It will resprout new stems. Within a year, it will grow into a full sized tree. The seeds are normal moringa oleifera pkm1 seeds, they are not dwarf trees or miniature trees. They will form large moringa trees with drumsticks and seeds if you are in an area that does not frost. If your trees do not survive the winter or something happens, start over and replant a new tray each year as an annual hobby for fresh moringa microgreens.
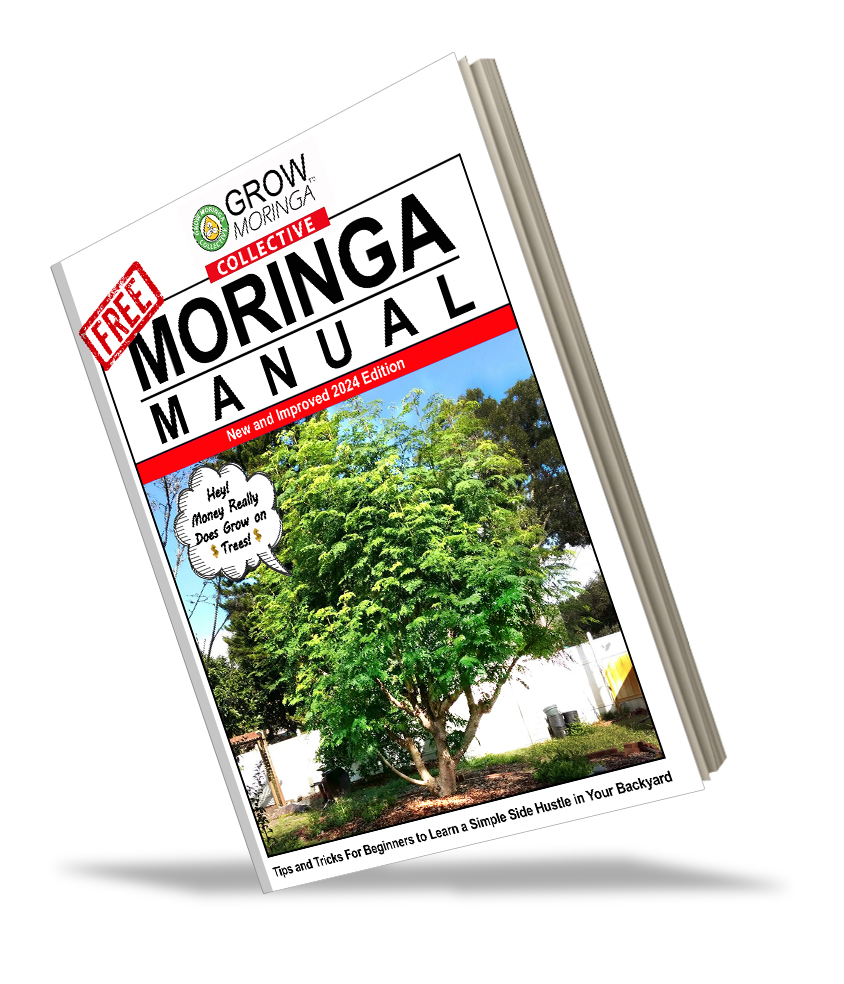
Learn How To Grow Big Moringa Trees. Start with Information from the New and Improved Free Moringa Manual. Download for Free at https://growmoringa.com
CLICK IMAGE

🌿 Don’t Miss Out on the Opportunity of a Lifetime! Join the Grow Moringa Collective🌿 Why wait any longer to turn your passion for plants into profits? With the Grow Moringa Collective, you’ll gain the tools, knowledge, and support you need to succeed in the blossoming USA moringa tree industry. Whether you’re ready to become a grower, a seller, or both, our program is here to guide you every step of the way. 🔥 Join Today and Enjoy These Exclusive Member Benefits: 🌱 Access to the Grow Moringa Members App – Connect with other members 24/7, find local growers, and get answers to all your moringa questions. 📚 A Complimentary Copy of My Book, "Grow Moringa: The Ultimate Guide" – Your roadmap to mastering everything about growing, selling, and profiting from moringa. 💵 A Step-by-Step Plan to Make Your First $10,000 from Moringa – Whether you’re starting small or thinking big, this program guarantees results! 🤝 Be Part of the USA Moringa Tree Industry – Join a community of passionate growers and entrepreneurs who are building a bright future together. 👩🌾 Learn How to Grow and Harvest Moringa – Perfect for beginners or experienced growers looking to scale their business. 🛒 Tools to Sell and Market Moringa – From creating your own brand to selling products locally or online, we’ll teach you how to stand out in the market. 🎥 Access to Exclusive Content and Classes – With live classes Monday through Friday at 8 PM EST and unlisted videos, you’ll learn directly from me and other industry experts. 👕 A Lifetime Membership T-Shirt – Show off your commitment to the moringa movement! This is your chance to join a growing movement and be a part of something truly special. The USA moringa industry is blooming, and you can be at the forefront of this exciting opportunity. 👉 Click the link to join now or text the word ‘Collective’ to 813-696-6676 for more information. Let’s grow moringa together and make history.